Creating a TikTok account can offer a number of benefits depending on your goals and interests. It’s a great way to discover and view the latest and trendiest videos, from funny memes to lip-syncs to dance challenges.
Additionally, TikTok provides a platform for users to showcase their creative talents and share their own videos with a wide audience. It can also be a great way to connect with others who share similar interests and hobbies.
Businesses and brands can also benefit from TikTok by connecting with their target audience. Thus, creating effective marketing campaigns and allowing users to purchase products directly from the app. It can also be used for personal brand building by consistently creating and sharing engaging content. In addition, you can build a following and establish yourself as an expert in your field.
Read More: TikTok For Business: Strategies to Promote Small Businesses in 2022
Overall, having a TikTok account can be a great way to connect with others, and grow your personal or professional brand.
How to create a TikTok account?
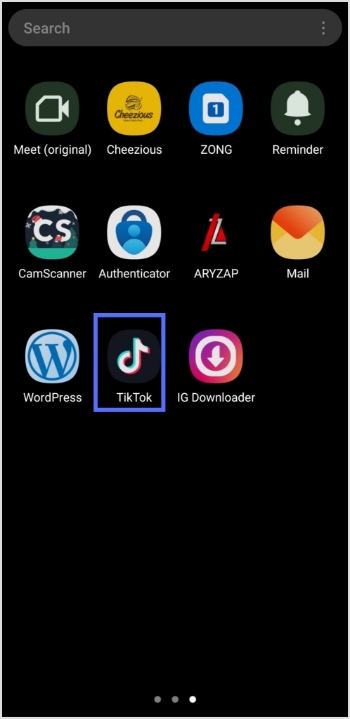
Step 1: Download the TikTok app from the App Store (iOS) or Google Play Store (Android).
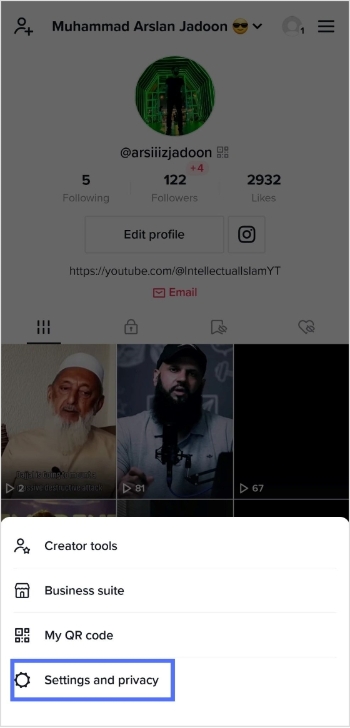
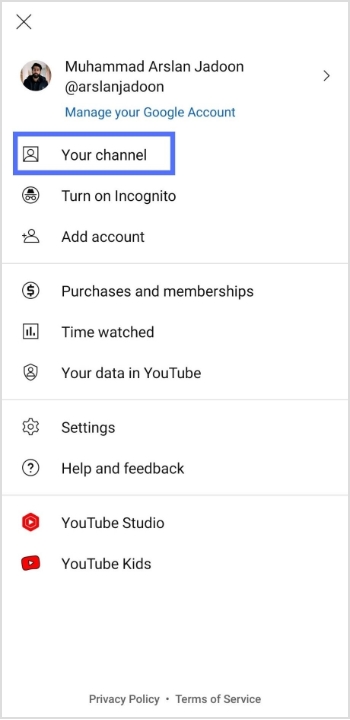
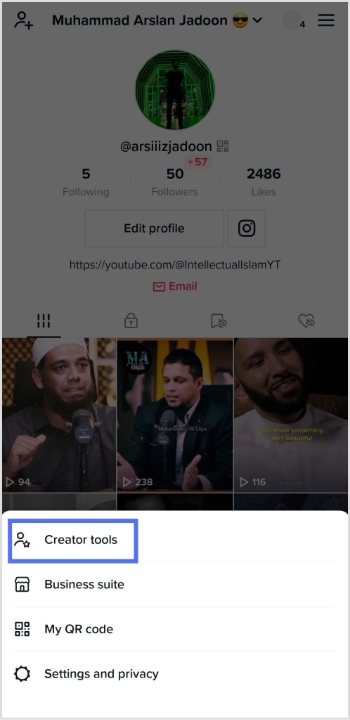
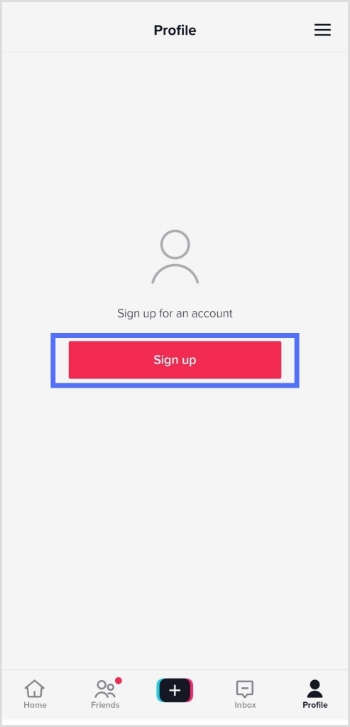
Step 2: Open the app and tap the profile icon in the bottom right corner.
![]()
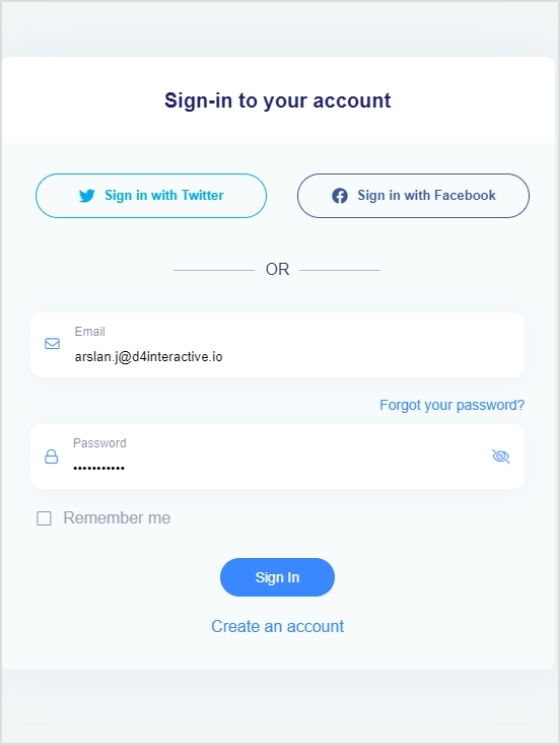
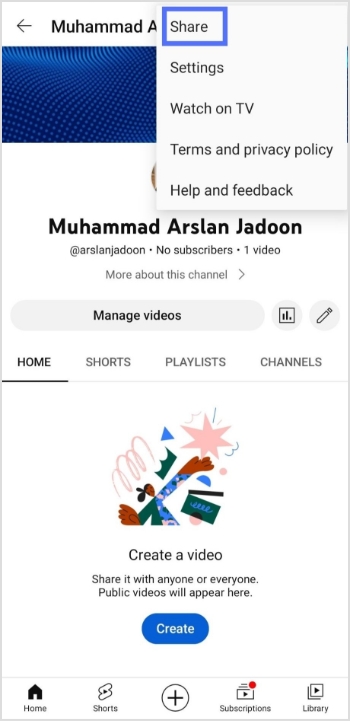
Step 3: Tap the sign-up button and choose how you like to sign up.
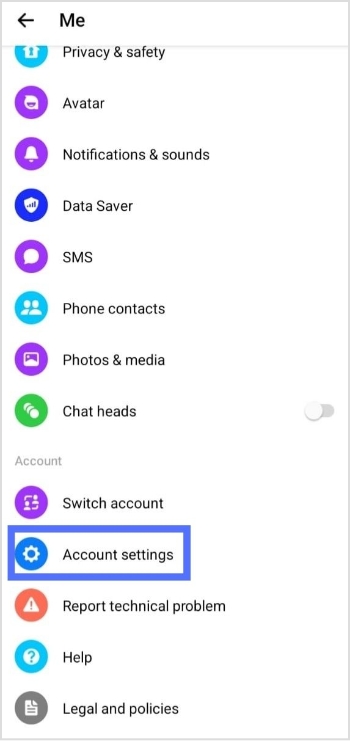
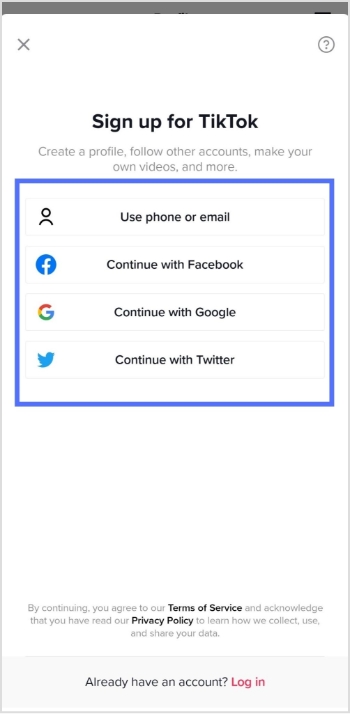
Step 4: Select how you want to create your account, either by using a phone number, or email address, or through a third-party account (such as Facebook or Google).
Read Now: How To Get More TikTok Views? 15 Hacks That Work
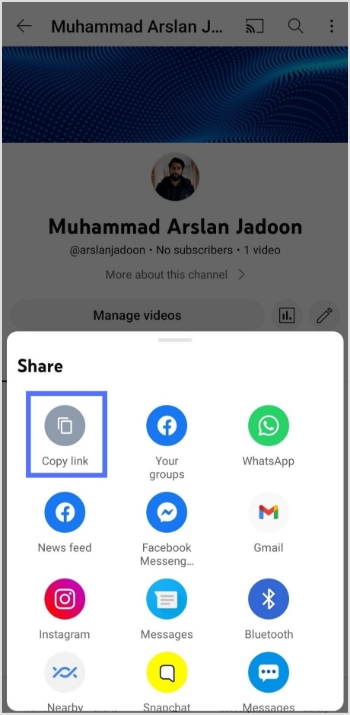
Step 5: Fill in the required information, including your name, birthday, and phone number.

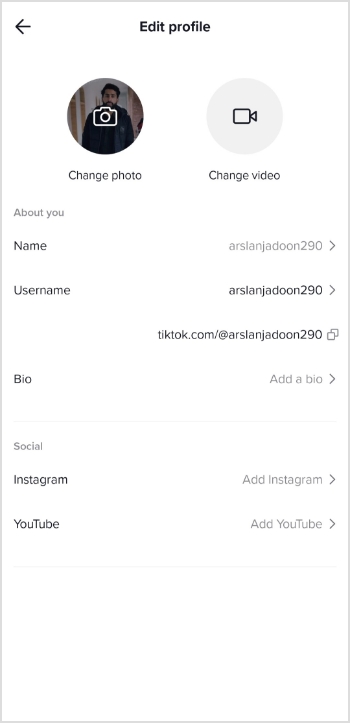
Step 6: Once your account is created, you will be prompted to fill in your profile information.
[branded_short_links]
Step 7: You can also customize your account by selecting your preferred privacy settings, and connecting your other social media accounts.
Once you’ve finished customizing your account, you can start browsing and creating TikTok videos.
Note: You must be at least 13 years old to create a TikTok account.
Read Now: How to link Instagram to TikTok?
FAQs
Is making a TikTok account free?
Yes, making a TikTok account is free. Users can create an account using their email address, or phone number, or by connecting to their Google or Facebook account.
Does TikTok pay you?
TikTok has a monetization program called the TikTok Creator Fund that pays creators based on their engagement and the number of views they receive on the platform. To be eligible for the Creator Fund, a user must have a minimum of 1,000 followers and meet other requirements set by TikTok. Additionally, TikTok also allows creators to monetize their content through brand partnerships and sponsored posts.
Read More: How to Make Money on TikTok?
Trending Now:
How To Get More TikTok Views? 15 Hacks That Work
What is a Tracking URL and How Does it Work?
How To Put A Link In TikTok Bio?
How to Build Your Brand on YouTube – Branding on Youtube the Right Way!